The post Considering Natural Childbirth? Read These 12 Pieces of Advice. first appeared on Jennifer S. White.
]]>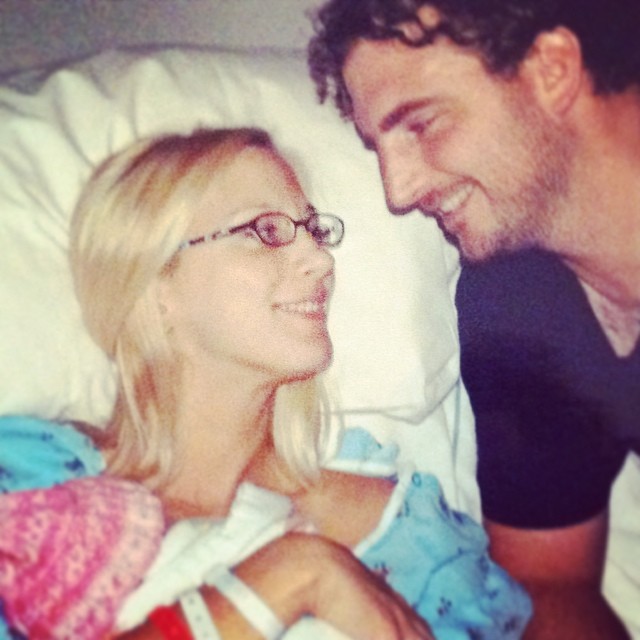
My first child was born naturally.
And, no, that doesn’t mean I had her at home.
Rather, she was born in the birthing center of a local hospital, and I had no medications. I let my body do the work while my midwife provided wonderful guidance and support. (My husband was pretty great too.)
And I’ve had essentially three different reactions to my sharing that I had not so much as a Tylenol throughout my pregnancy, labor and delivery.
One, other women look at me with shocked horror clearly exposed on their faces, saying something along the lines of “I would never do that. Give me the drugs;” two, women say that they also had beautiful natural labor experiences or, three, I’ve had some women appear jealous or a little sad because they weren’t lucky enough to have had natural childbirth as an option. (Cesareans exist for a reason, after all.)
So, with my expectant mother’s tummy filled with another growing life, I can’t help but hopefully contemplate my upcoming renewal of this experience and, likewise, reflect on the positive experience that I had—and what steps were taken to arrive there.
I’d like to share some personal tips that helped me, and I’d like to you to also keep in mind that this advice is from the experience of a mother, not a physician.
1. It is not your birth.
Women get so hung up on the pain aspect of labor and, to be fair, it’s practically shoved at us.
I choose to view my labor and delivery as my child’s experience, not mine, and this helped me view it as an act of maternal love instead of a wailing struggle.
2. Breathe.
If you practice yoga, don’t stop. Learn safe modifications, but do not stop your practice. If you’ve never practiced yoga then find a properly certified teacher to guide you through a prenatal class. The breath work that’s taught in yoga class is a priceless tool for the delivery room.
3. Exercise.
Do not use your pregnancy as an excuse to sit around.
Relax and rest, of course, and nap if you can, but exercise. Your body will need to be strong, and even flexible, during childbirth, and now is the time to prepare.
4. Eat well.
Ideally you’re already eating well for your baby, but what about for you? You’ll feel your best when filling your body with unprocessed, healthy food.
Again, pregnancy is not a reason to eat an entire carton of ice cream (although that’s not to say you shouldn’t have a serving, or two).
5. Find a midwife or physician who supports you.
This step is critical. Make sure that you’re working with someone who also sees the benefits of a natural childbirth and who’s willing to support you and your goals and beliefs. Additionally, it helps if you actually just like and “click” with your midwife or doctor, because this person will be acting as a coach to you when the time comes.
6. Check out Hypnobabies.
Admittedly, much of this excellent CD series was so much like my yoga and meditation practice that I didn’t spend the amount of time with it that’s generally recommended, but I’ve talked with so many mothers who used Hypnobabies with their natural birth process.
Essentially, you’ll learn valuable techniques to empower you and fill you with excitement of the process, and this is hugely important because the more relaxed you are, the more successful you’re likely to be. (Fear and anxiety gripped muscles are not conducive to natural childbirth.)
Another perk of Hypnobabies is that it helps teach you pain management—no drugs required.
7. Have a support system.
I was lucky that my husband was the perfect candidate. Moreover, this might mean excluding people too.
I chose not to let anyone know we had our baby until after the fact. I didn’t want people there, in the room or wandering the halls, and knowing that I had my perfect bubble of an environment—the one that I’d created with my midwife, my husband, and my iPod—was definitely one of the reasons that my birth plan worked well.
8. Stay away from dramatic stories.
You do not need to read about other people’s dramas, in or out of the hospital room.
Yes, be prepared for the reality that it might not go as you’d envisioned, but remember to filter the information you take in. Consider that you’re preparing yourself for the marathon of all marathons—and you need to take in positive things that pump you up, not emotional roller-coasters that play on your sensitive emotions.
9. Read helpful stories of other natural births and pregnancies.
Not everyone out there had a bad labor experience and some women love being pregnant (ahem).
Listening to just one extraordinarily uplifting story might be exactly the thing you need to amp up your spirits for your (and your baby’s) big day.
10. Stop being afraid!
Fear will prevent an easy child birth. It is not something that supports you in anyway.
Address your concerns and make adequate preparations for any real issues that might arise, but, equally, trust that your body will know what to do when the time comes.
11. Expect twists and turns.
This is true not just of childbirth, but of parenthood. I can’t tell you how many things I would never do as a parent that, when put in my own actual life, did not stick, and the reverse is true too.
For me, my first baby required hospital care and I personally wouldn’t choose a non-hospital experience for my subsequent babies because of this. The point is this: we can never truly know how we’ll react until we’re actually placed in the situation ourselves. On top of this, shit happens. So be prepared for a little shit, as well as for joy.
12. Motivation.
Why do you want a natural childbirth?
If having a natural labor and delivery experience is something you feel like you should be doing, but you’re heart’s not in it, then you might eventually find yourself in a difficult situation.
Because a natural birth isn’t for everyone, but if it’s for you, then congratulations—you’re joining countless women who have found birth to be something to celebrate and find beauty in.
“The moment a child is born, the mother is also born. She never existed before. The woman existed, but the mother, never. A mother is something absolutely new.” ~ Rajneesh
Photo credit: Author’s own.
This article was first published by elephant journal.
The post Considering Natural Childbirth? Read These 12 Pieces of Advice. first appeared on Jennifer S. White.
]]>The post 3 Steps to Beautiful Nails. {Recipe Included} first appeared on Jennifer S. White.
]]>
How to have happy nails.
A few readers made the interesting assumption after reading this article that I don’t paint my toenails. Um, no.
I love painting my nails.
It feels like a way to zone out and relax (reminding me of meditation), and I’m not the kind of lady who sticks to neutral, ordinary colors either.
I donned black polish with huge silver glitter to my husband’s holiday festivities at work. I love blue and green and likely any other color you can think of.
Still.
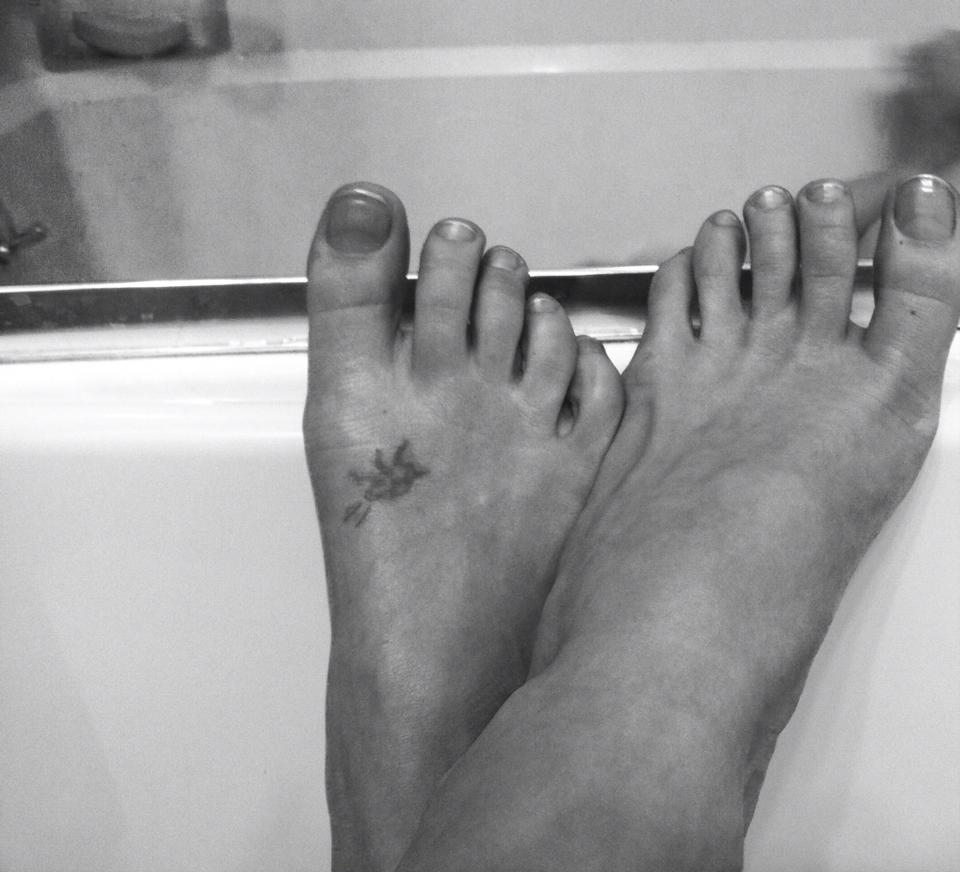
Still, I do love my bare nails.
They feel natural and beautiful and feminine and I absolutely adore practicing yoga with clean, fresh nails as a drishti point (both hands and feet).
Having shared that, when you switch back and forth between polish and no-polish, your nails can become dry or, worse, discolored. (And I’ve found this to be true even when using “natural” alternatives.)
Trust me, too, that I fully understand never caring if your toenails, especially, see the light of day—but it’s good for them and for you to let them breathe from time to time.
So if you’re feeling adventurous and ready to try a real experiment—and have bare piggies and fingertips—then try these tips.
1. Soak your nails in denture cleaner.
My husband will forever make fun of me for buying large quantities of denture cleaner—and I don’t care.
I’ve tried all of the other suggestions out there (like lemon juice, for one) and none of them work, not like this does.
Also, call me loopy, but I love the ones with tingly mint scents. Moving on.
Unfortunately, this won’t take away all of the discoloration—primarily if it’s from wearing polish without those aforementioned breathing breaks—but it will help whiten your nail tips and take some of the yellow out.
And it’s simple and quick.
I usually just fill my sink of with enough warm water to soak my fingers or toes in (thanks to yoga, it’s not a problem to stand on one leg with the other in the sink, but you could, of course, use a small dish). Then I drop one or two of the denture cleaner tablets in and let them dissolve. I typically only soak for three to five minutes or, honestly, as long as a song or two plays in the background.
2. Buff and shine.
This really does help make discoloration less obvious.
A buffer/shiner can be purchased almost anywhere, but consider that buffing—like the denture cleaner step—won’t take away severe yellowing—but it will help, and the shining step helps a lot as well.
3. Make your own cuticle oil.
This step is crucial.
I’ve used purchased cuticle oil (a few brands) and I much prefer my own.
While you don’t need to get fancy and you could simply just dab on olive oil, for example, I happen to personally enjoy making my own blend. (And I’m not someone who’s generally crafty, so keep that in mind.)
My favorite thing is to buy empty glass nail polish bottles. You can buy these either online (Amazon sells them) or have your local store order them for you. (Many retailers that sell base oils and essential oils also offer the containers needed for custom blends.)
I have several blends that I use, depending, frankly, on my mood, and I’ve never made one that I haven’t fallen in love with instantly.
I’ll share with you my current recipe of choice:
Fill the glass bottle with equal parts of apricot kernal oil, almond oil, argan oil, and tamanu oil.
Add 5 drops of rose essential oil.
Store in a cool, dark place.
Apply it with a dropper or, my preference, the nail brush that comes with the polish bottle; working the blend into the nail and surrounding skin.
Ideally, use your mixture once a day or more.
I definitely believe in never saying never, but at this point, I would say that I’m a happy flip-flopper between bare and painted nails—on the other hand, I just finished my daily yoga practice and it sure was fun to hang in my forward fold with naked toenails contentedly peeking back.
Photos: Author’s own.
This article was first published on elephant journal.
The post 3 Steps to Beautiful Nails. {Recipe Included} first appeared on Jennifer S. White.
]]>